Kimnach's
1988 IROC-Z
Fabrication
of bezels
This page will describe the various bezels and adapters required for
the installation of the Carputer components--the touchscreen, the card
reader, etc.
Quick Links:
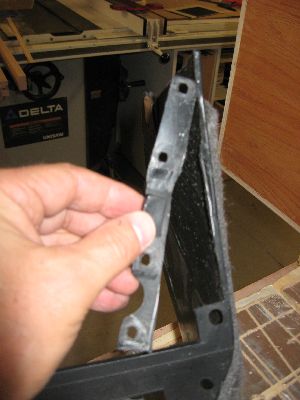
Overhead
console
Radar
detector mount
S-10 OC
mounting, using camaro OC
mounts
Faceplate
adapter
Monitor
bezel
Center
Console modification
Touchscreen Monitor
Initial
Options
bezel
duplication
Test fit
Ashtray
card reader
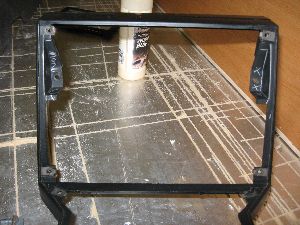
Overhead
console
As stated previously, the OC is a modified S-10 pickup truck console.
this console has storage for sun glasses, a log book bin,
four
map lights and a courtesy light, and an mounting location for a garage
door opener. It also comes with an electronic
thermometer/compass
which I will mount elsewhere--somehow.
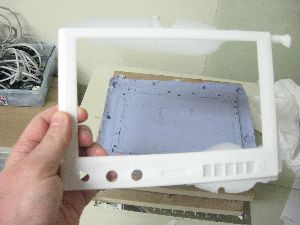
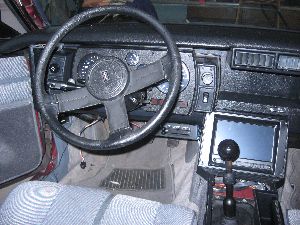
Monitor
& HVAC Bezels
The plan is to fabricate the Lilliput monitor and a slot-load DVD-R/W
into a Camaro's radio & HVAC bezel. Because I knew
that I would want to prototype--and to be prepared for any irreversible
mistakes--I decided to make a mold of the Lilliput bezel. I
used Smooth-on's
Oomoo 30 silicone rubber and Task 3 resin. (Smooth-on's
website has extensivie tutorials on how to make molds, so I won't
discuss that here.)
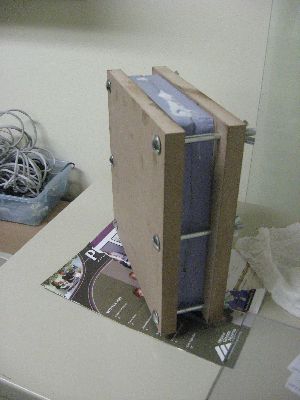
A few pictures of the mod preparation...
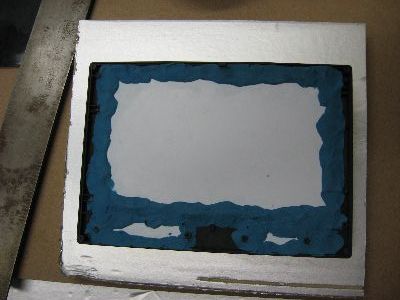
...and the mold poured with the vertical stand supporting it...
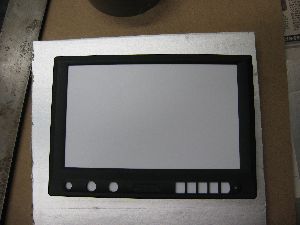
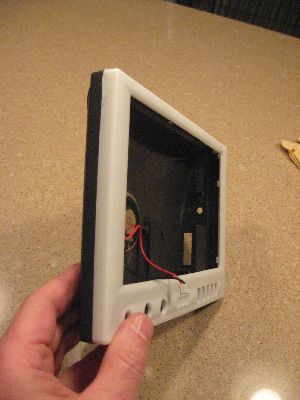
...and the duplicated Lilliput bezel freshly pulled from the mold.
Notice that there is some flash to be removed, but that was easily
accomplished with a razor blade and exacto knife. The only
real "issue" with this replica was that the five button holes (on the
right) had to be slightly filed for the original buttons to fit.
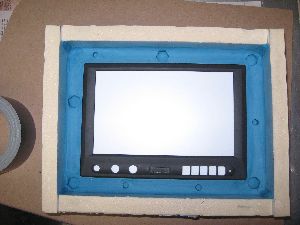
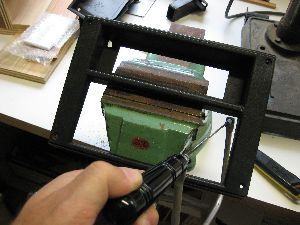
And then I test fit the replica on the original housing.
(This required that the replica's posts be drilled-out to
receive the screws. No tapping required, just use a slighlty
undersized drill bit.)
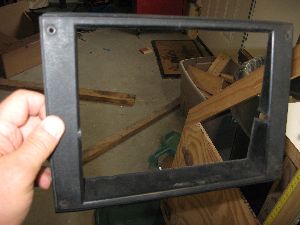
The original HVAC/radio bezel of the IRO had to be modified to accept
the monitor and the DVD-R/W. This required that the
horizontal piece, separating the radio and HVAC, be removed.
Just a few pics follow:
Also, the center console of the Camaro has to have some material
removed to accomodate the 8" touch screen.
The bezel was epoxied with Loctite Epoxy Gel by applying a bead along
the radio bezel edge and then pushing it down onto the monitor bezel.
It was during this step that the monitor bezel
shifted slightly. This shift caused me to not be able to
adhere the DVD-R/W case onto the left-hand side. After that
set, I used an epoxy putty along the inside edges to reinforce the
union. Once that set, I taped off the bezels and applied a
bead of JB Weld. I decided to do this because has the
consistency of silicone caulk and it was easy to get a relatively
smooth surface with my finger. I did some rough, but not
final sanding, and painted it. Again, I know that I will be
re-doing this. The following is just a sequence of images of
this step.
After fabbing, I went out into the
garage that was about -11F to see
how the screen looks. I didn't power it on, but was now
confident that the location is good and that my next fab (include the
DVD-R/W and a USB port or two) of the center console will go better.
Ash
tray Card Reader
Because I'm not a smoker, the ash tray has been nothing but a small
change collector. Also, because it would be nice to be able
to
transfer pictures, music, and videos between different format flash
devices, I decided to put a multi-format card reader + USB port in this
location.
I cut-out the bottom half of the ash tray, slid and epoxied in the card
reader chassis with face plate, taped-off the plate (to keep the
lettering), and filled the gaps with ABS sludge. Here are
some
pics:
I
have removed the tape, and now I must fill some of the imperfections.
More importantly, I have to figure out how to paint it
without covering the lettering and matching/blending
the color with the
original bezel.
Comments,
questions, or concerns?
e-mail me at my kimnach.org
or at my roadrunner.com
address
Back to my IROC
home page
Home kimnach.org