Kimnach's 1988 IROC-Z
Reverse
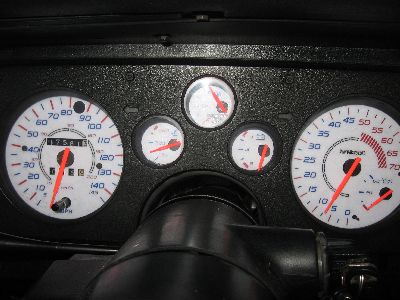
Glow Gauges
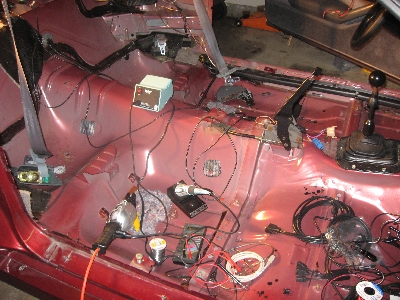
Since I had torn apart the interior to wire the carputer and audio
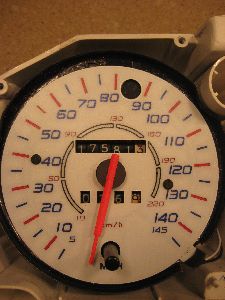
system, I decided to install a 145mph
speedometer (had a 115 originally) and a set of reverse-glow
halo gauges from Streetracerparts.
While
I like the look of the gauges, the folks who designed these may not
have had a Camaro instrument cluster
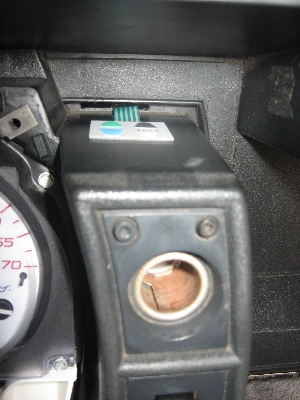
(IC) handy while doing so. The power tab on the battery voltage
gauge, in particular, is problematic. Although they warn against
bending the tabs--almost anything can be bent, if done properly and
carefully--I decided to bend it instead of cutting the white IC
housing. In spite of having applied a spray adhesive to both the
original gauge face and the back of the white gauge, the leverage
caused by the bend would slowly cause detachment. I then dremeled
a hole through the IC and all is well. (The power tab and wire
nearly touch the steering column, and that is why I wanted to avoid
doing this. But it's not noticable. C'est la vie.)
The inverter is mounted under the dash pad, and a hole is drilled
through the top of the IC housing for the gauge cluster harness.
The
12Vdc power for the
inverter is tapped from the car's light switch harness.
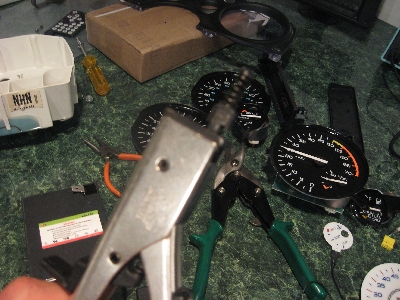
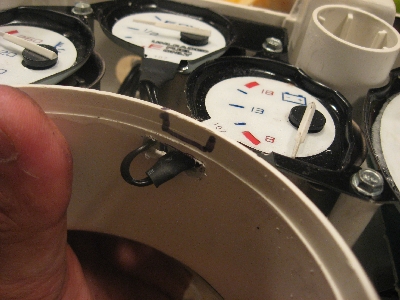
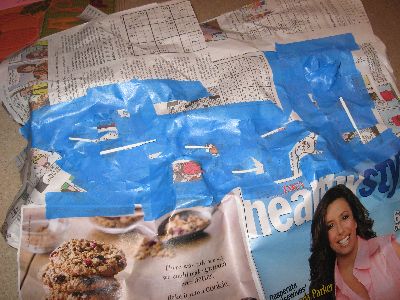
I also used a nibbler to remove the lip on the factory
gauges so that the white face gauges could sit flush. The
controller is adhered to the top of the cigarette lighter pod, which
required that I dremel a slot along the adjoining portion of the
dashboard.
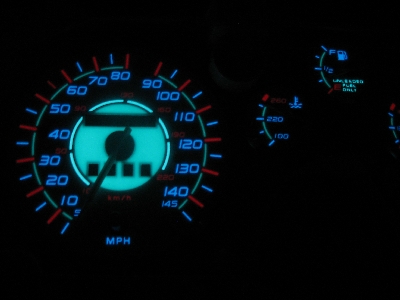
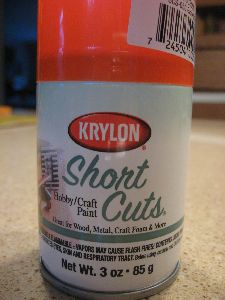
I have painted the white needles a florescent orange.
Pictures are worth more than words, so that's all you get for
now:-)
Interior Removed
Headlight Switch Power Tap
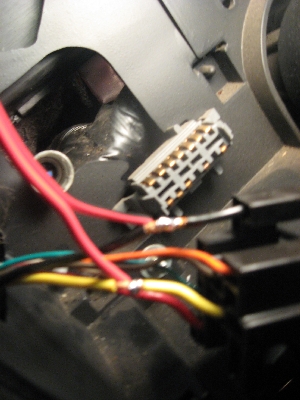
12V & ground. 12V from the headlight ON wire (yellow)
Nibbler and Nibbling of Gauges for
Power Tabs
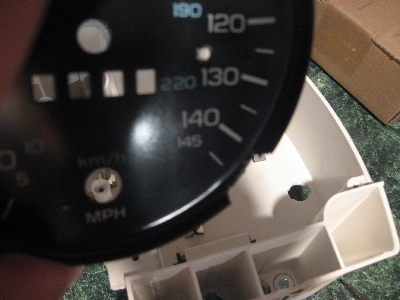
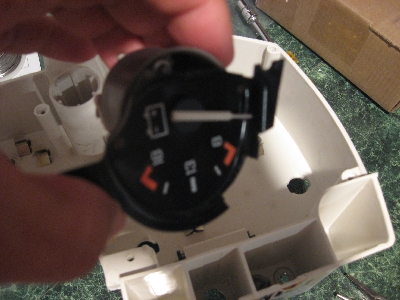
Battery Gauge Tab and IC hole
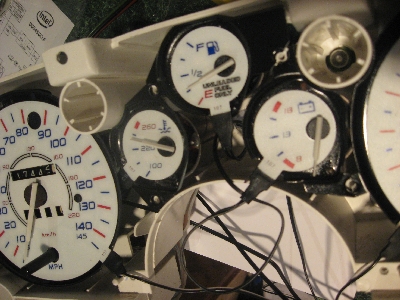
Bench test
Inverter and controller
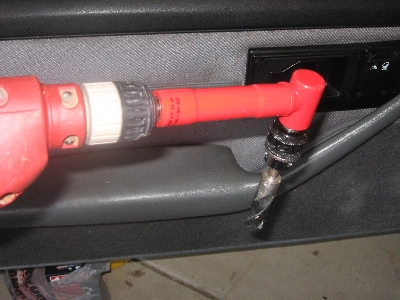
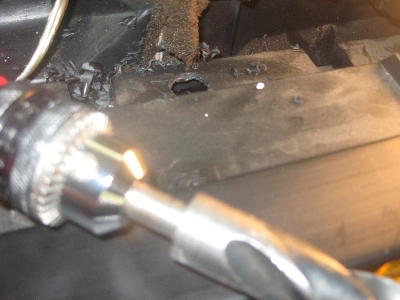
Use right angle attachment to drill hole through the top of the IC
mount in the dash. The white IC housing also has hole drilled,
obviously.
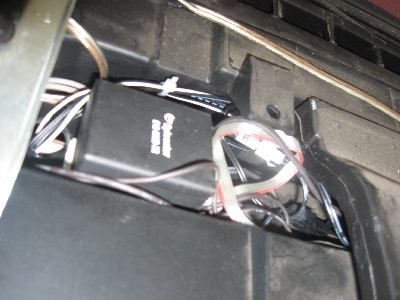
Inverter fits just right....
First a bit of paint...
I
figured that while the IC is out and based on the darkness of the
needle while bench testing it, I'd paint the needles florescent orange.
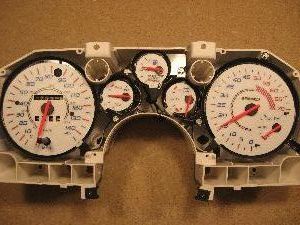
Then Install
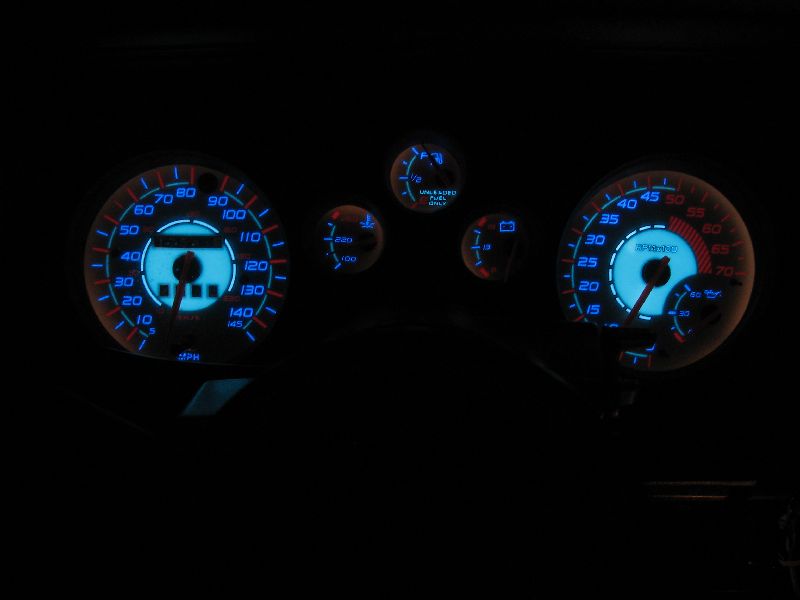
And now a night shot
Comments, questions, or concerns?
e-mail me at my kimnach.org
or at my roadrunner.com
address
Back to my IROC home page
Home kimnach.org